

Hey there! As a supplier of DBS Band Feed Horns, I've seen firsthand how crucial it is to get these components adjusted properly for top - notch performance. In this blog, I'm gonna walk you through the steps to adjust DBS Band Feed Horns for better results.

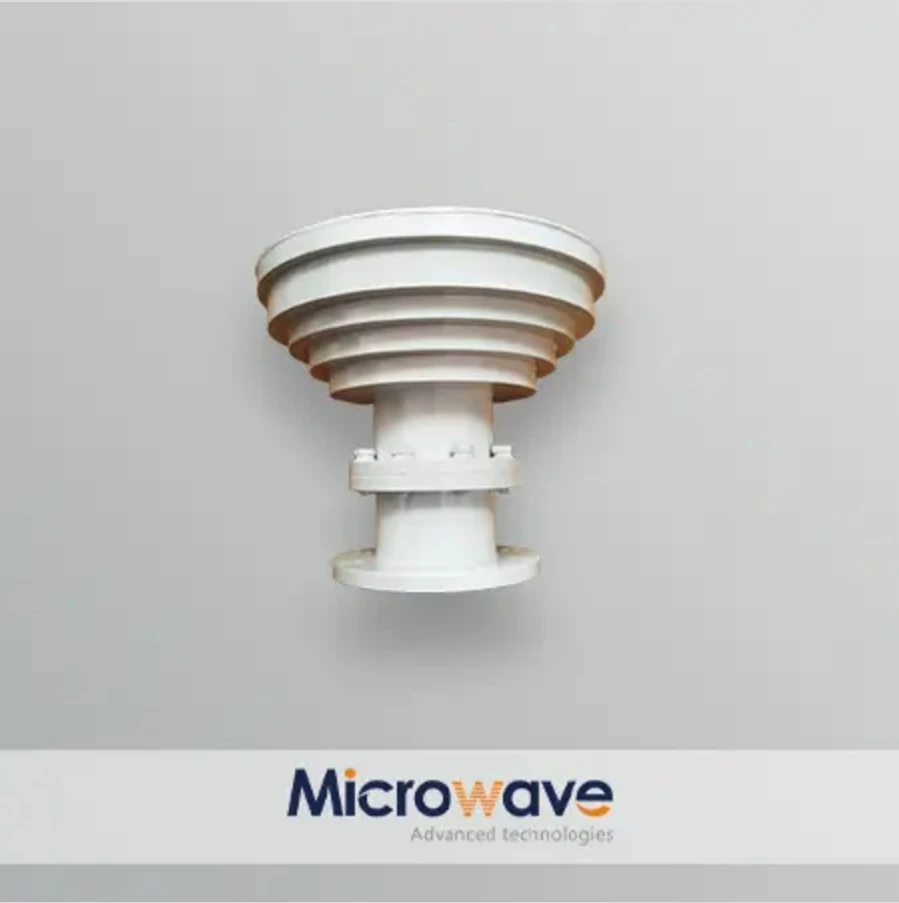
Understanding DBS Band Feed Horns
Before we jump into the adjustment process, let's quickly understand what DBS Band Feed Horns are. These are key parts of the DBS Band Antenna Feed System. They're designed to capture and direct electromagnetic waves in the Direct - Broadcast Satellite (DBS) frequency band. The DBS band typically operates in the Ku - band, and you can check out our Ku Band Feed Horn for more details on that specific type.
Why Adjustment is Necessary
You might be wondering, "Why do I need to adjust these feed horns?" Well, several factors can affect their performance. For instance, improper alignment can lead to signal loss. If the feed horn isn't aimed correctly at the satellite, it won't be able to pick up the signal efficiently. Also, environmental conditions like strong winds or heavy rain can cause the feed horn to shift out of position over time. Adjusting them ensures that you get the best possible signal strength and quality, which is super important for clear satellite TV reception or reliable data transmission.
Tools You'll Need
Before you start the adjustment process, gather the following tools:
- A torque wrench: This helps you tighten the bolts to the correct specifications.
- A level: To make sure the feed horn is perfectly horizontal or vertical, depending on the setup.
- A signal strength meter: It's essential for measuring the signal strength during the adjustment. You can find these at electronics stores.
Step - by - Step Adjustment Process
Step 1: Initial Inspection
First things first, take a good look at the feed horn. Check for any visible damage like cracks or bent parts. If you find any issues, it might be a good idea to replace the feed horn before proceeding. Also, make sure all the connections are tight. Loose connections can cause signal interference.
Step 2: Mounting Alignment
Use the level to ensure that the feed horn is mounted correctly on the antenna. If it's a vertical feed horn, make sure it's perfectly plumb. For a horizontal one, it should be level. This initial alignment is crucial as it sets the foundation for the rest of the adjustment process.
Step 3: Azimuth Adjustment
Azimuth refers to the horizontal angle of the feed horn. To adjust the azimuth, you'll need to loosen the azimuth bolts on the antenna mount. Then, using the signal strength meter, start rotating the feed horn slowly from left to right. Keep an eye on the signal strength reading. The goal is to find the position where the signal strength is the highest. Once you've found that position, tighten the azimuth bolts using the torque wrench.
Step 4: Elevation Adjustment
Next up is the elevation adjustment. This is the vertical angle of the feed horn. Similar to the azimuth adjustment, loosen the elevation bolts. Slowly tilt the feed horn up or down while monitoring the signal strength. Again, look for the point where the signal strength peaks. Once you've found it, tighten the elevation bolts to secure the feed horn in place.
Step 5: Polarization Adjustment
Polarization is all about the orientation of the electromagnetic waves. You'll need to adjust the polarization of the feed horn to match the polarization of the satellite signal. Most satellites use either horizontal or vertical polarization. To adjust the polarization, loosen the polarization adjustment bolts. Rotate the feed horn until you get the maximum signal strength on the meter. Then, tighten the bolts.
Step 6: Fine - Tuning
After making the major adjustments, it's time for some fine - tuning. Make small adjustments to the azimuth, elevation, and polarization while constantly checking the signal strength. Sometimes, a tiny tweak can make a big difference in the overall performance.
Testing the Adjustment
Once you've completed the adjustment process, it's important to test the performance. Use the signal strength meter to take multiple readings at different times of the day. You can also check the quality of the satellite TV reception or the data transmission speed if it's a data - related application. If the signal strength is still not satisfactory, you may need to go back and make further adjustments.
Maintenance Tips
To keep your DBS Band Feed Horns performing at their best, regular maintenance is key. Check the alignment periodically, especially after extreme weather conditions. Also, clean the feed horn regularly to remove any dirt or debris that could affect the signal.
Conclusion
Adjusting DBS Band Feed Horns might seem like a daunting task at first, but with the right tools and a step - by - step approach, you can do it easily. By following these steps, you'll be able to optimize the performance of your DBS Band Feed Horns and enjoy better satellite signal quality.
If you're in the market for high - quality DBS Band Feed Horns or have any questions about the adjustment process, don't hesitate to reach out. We're here to help you with all your satellite feed horn needs and can assist you in getting the best performance out of your setup. Let's start a conversation about your requirements and see how we can make your satellite system work even better!
References
- Satellite Communication Handbook by Timothy Pratt and Charles Bostian
- Antenna Engineering Handbook by Richard C. Johnson